01
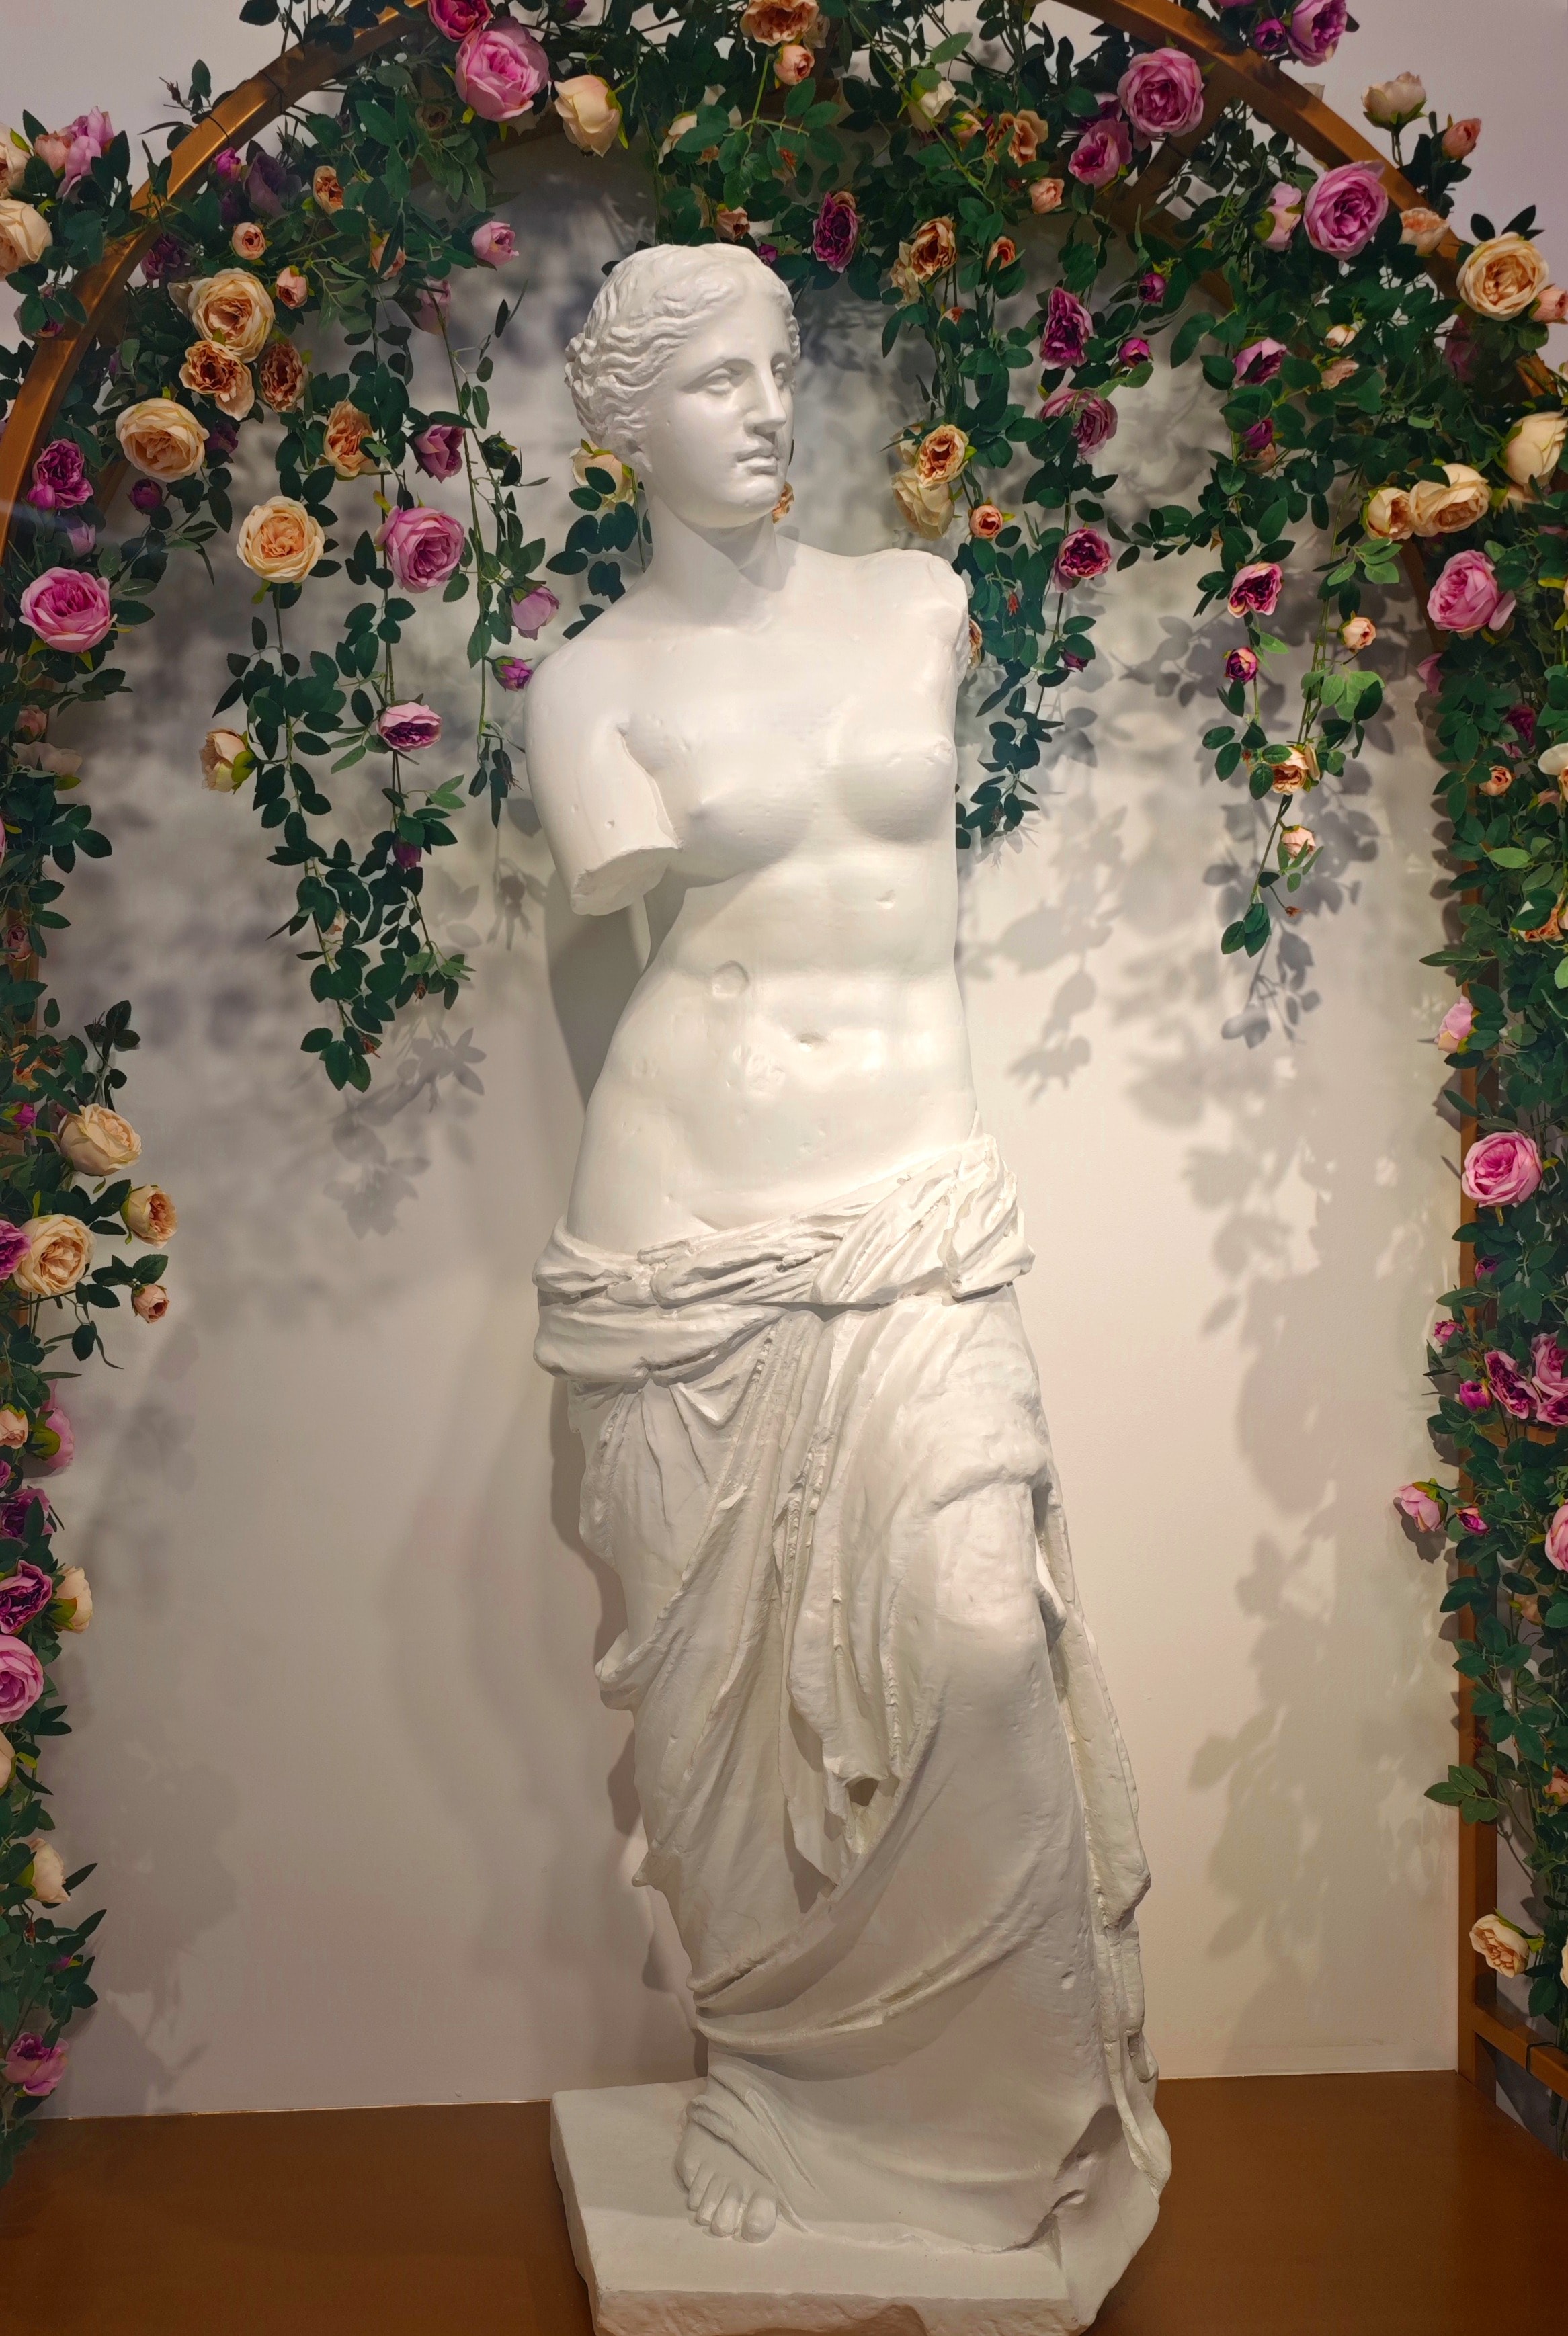
Aphrodite of Milos
3D Printing (FDM)
Printed in 90 sections on a printer with a 230 mm bed, then assembled and finished.
H 1800 mm
- Material
- White PLA
- Sections
- 90
- Printer
- Creality K1
- Time
- 4 weeks (2 printing, 2 finishing)
Design · Prototype · Render · Print · Dare to Imagine
3D design, prototypes and FDM prints: 230 × 230 × 250 mm per piece, larger works printed in sections. One studio in Athens, Greece.
Layer by layer
Scroll to print. The ember line is the layer moving up; everything below it is already solid.
Illustration: how a part is built, layer by layer
Layer height 0.20 mm
Services
Hover, focus or tap a row for what is inside it. Printing is FDM only.
From a sketch or a description to a model that prints.
Test the idea in your hand before it is final.
FDM on a Creality K1 and an Ender 3 V2, 230 × 230 × 250 mm per piece. Larger works are printed in sections and assembled.
Concept and photoreal renders, plus animation.
Concepts and photoreal renders for architectural projects.
Filament lab
FDM only. Pick a filament and the part changes finish: drag to turn it.
Multiple filaments and colors available
Drag to rotate · procedural part
Selected work
01
3D Printing (FDM)
Printed in 90 sections on a printer with a 230 mm bed, then assembled and finished.
H 1800 mm
02
3D Printing (FDM)
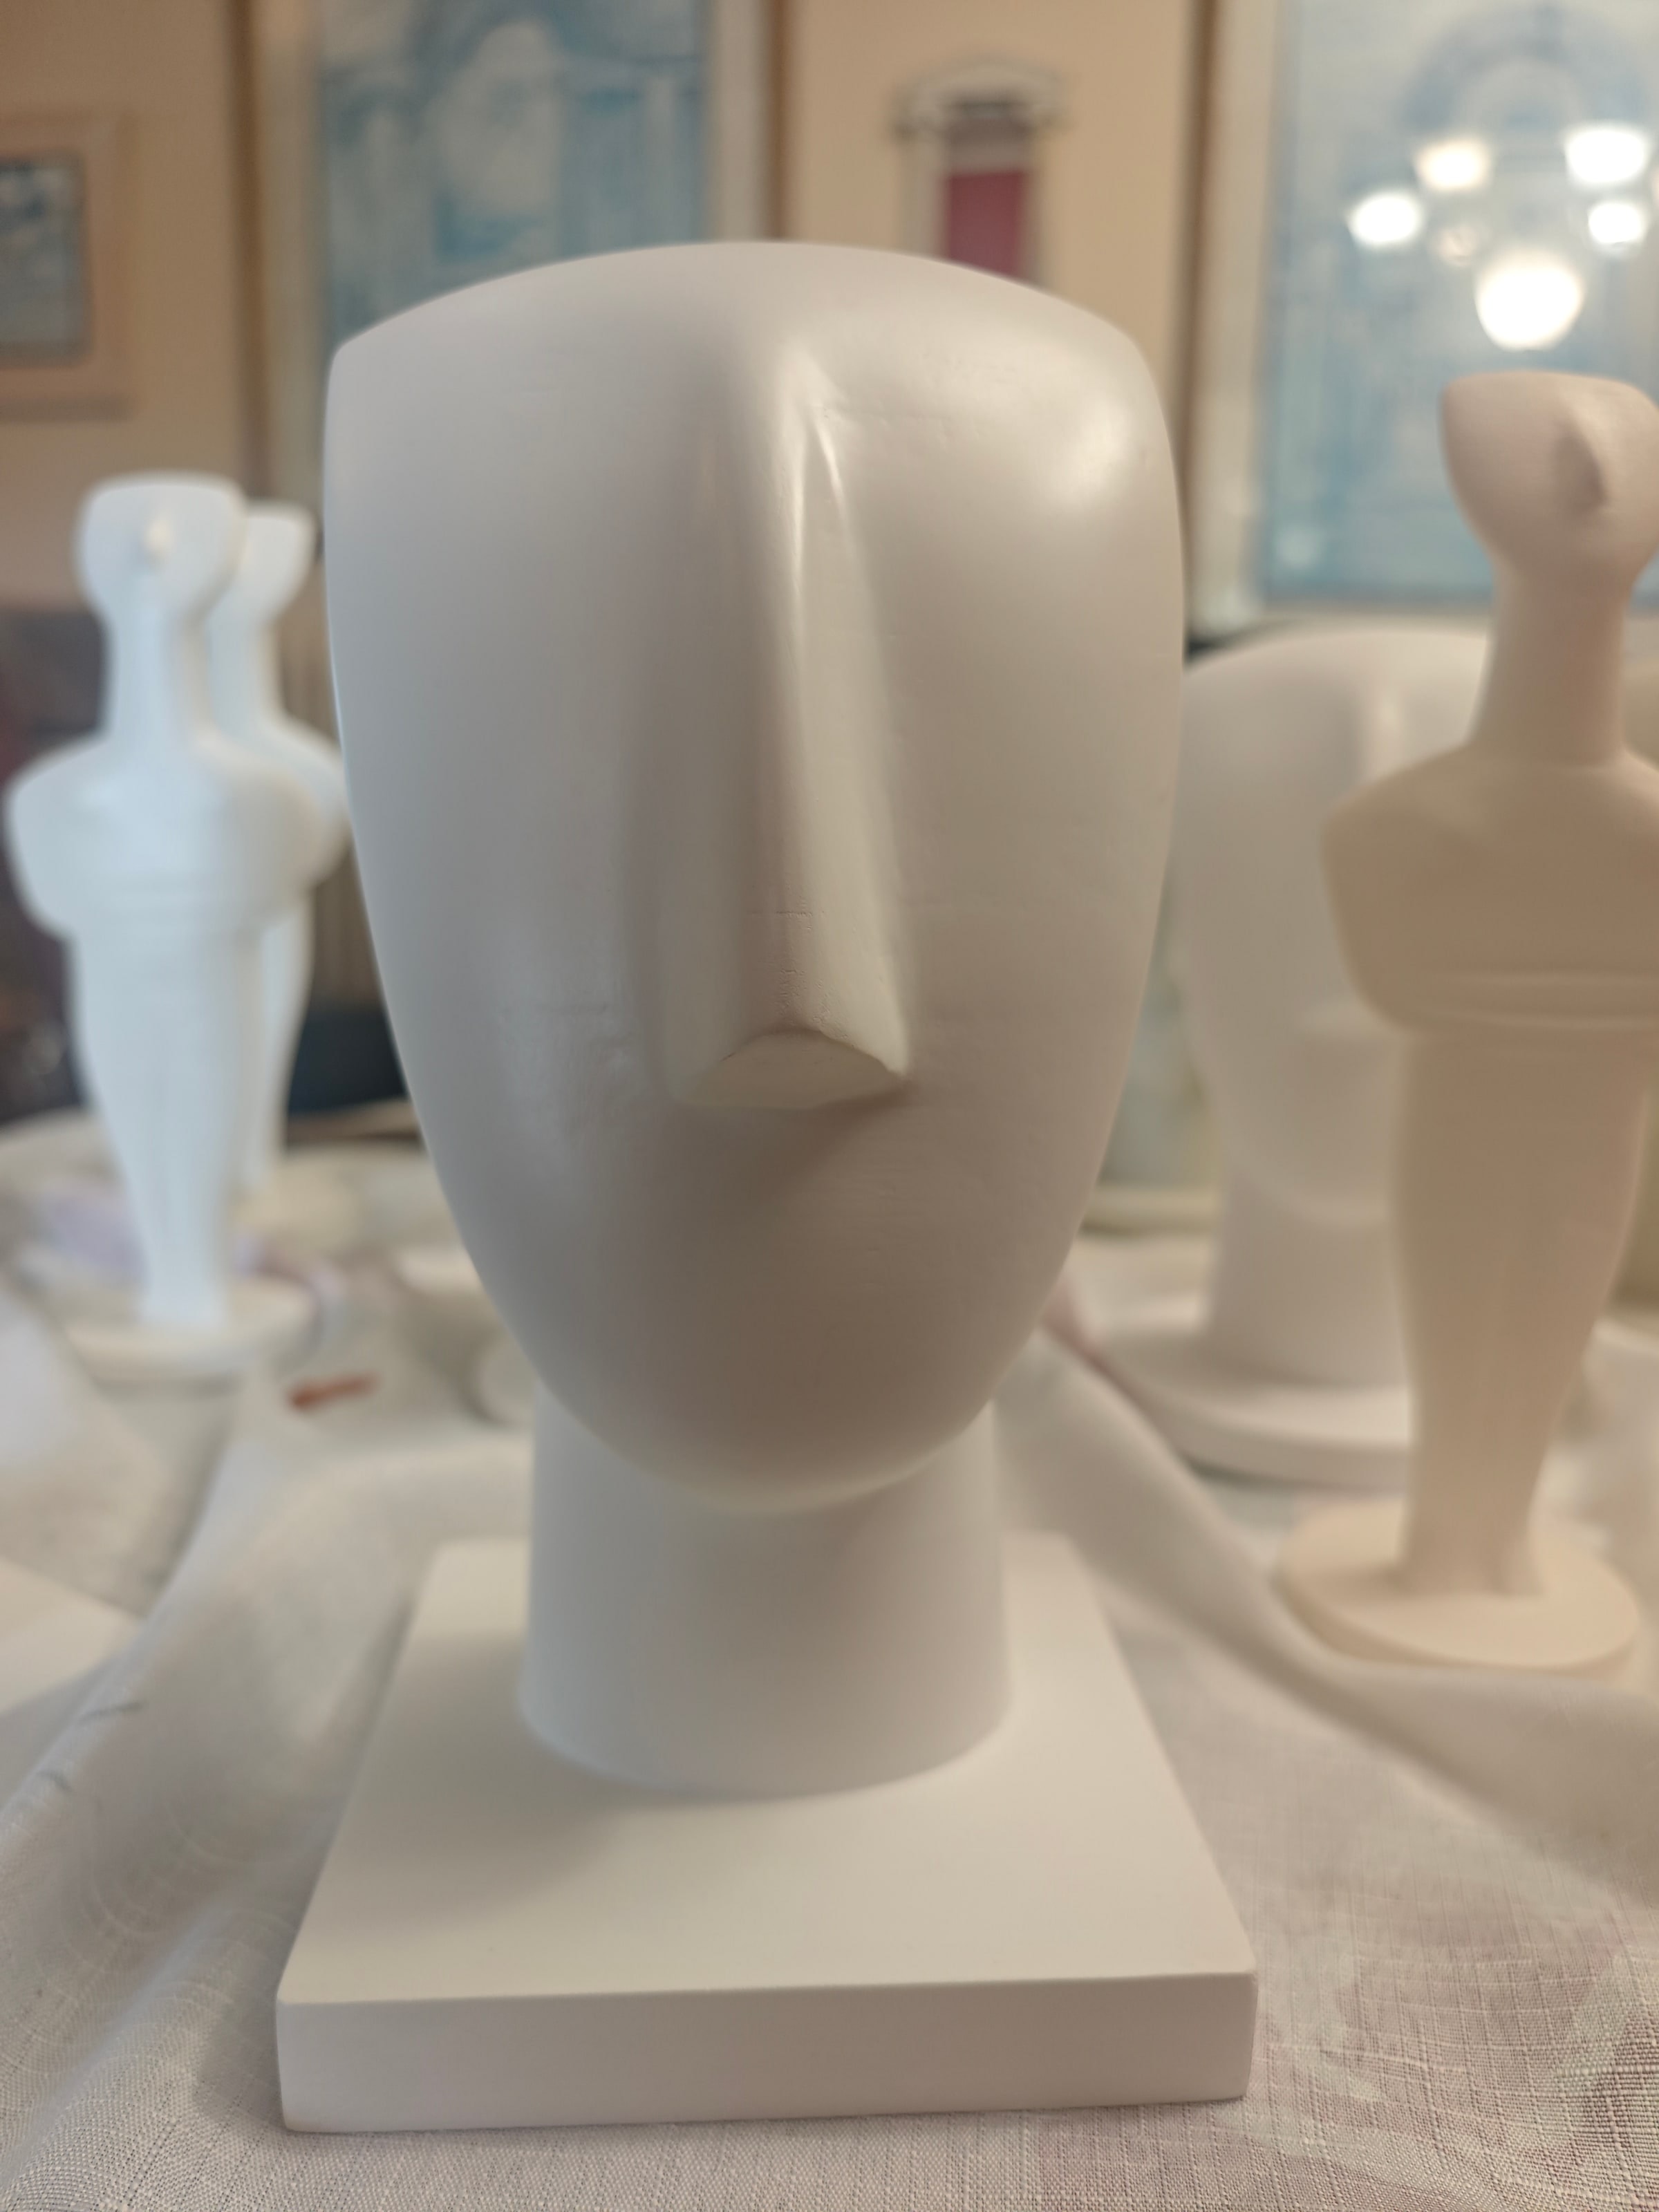
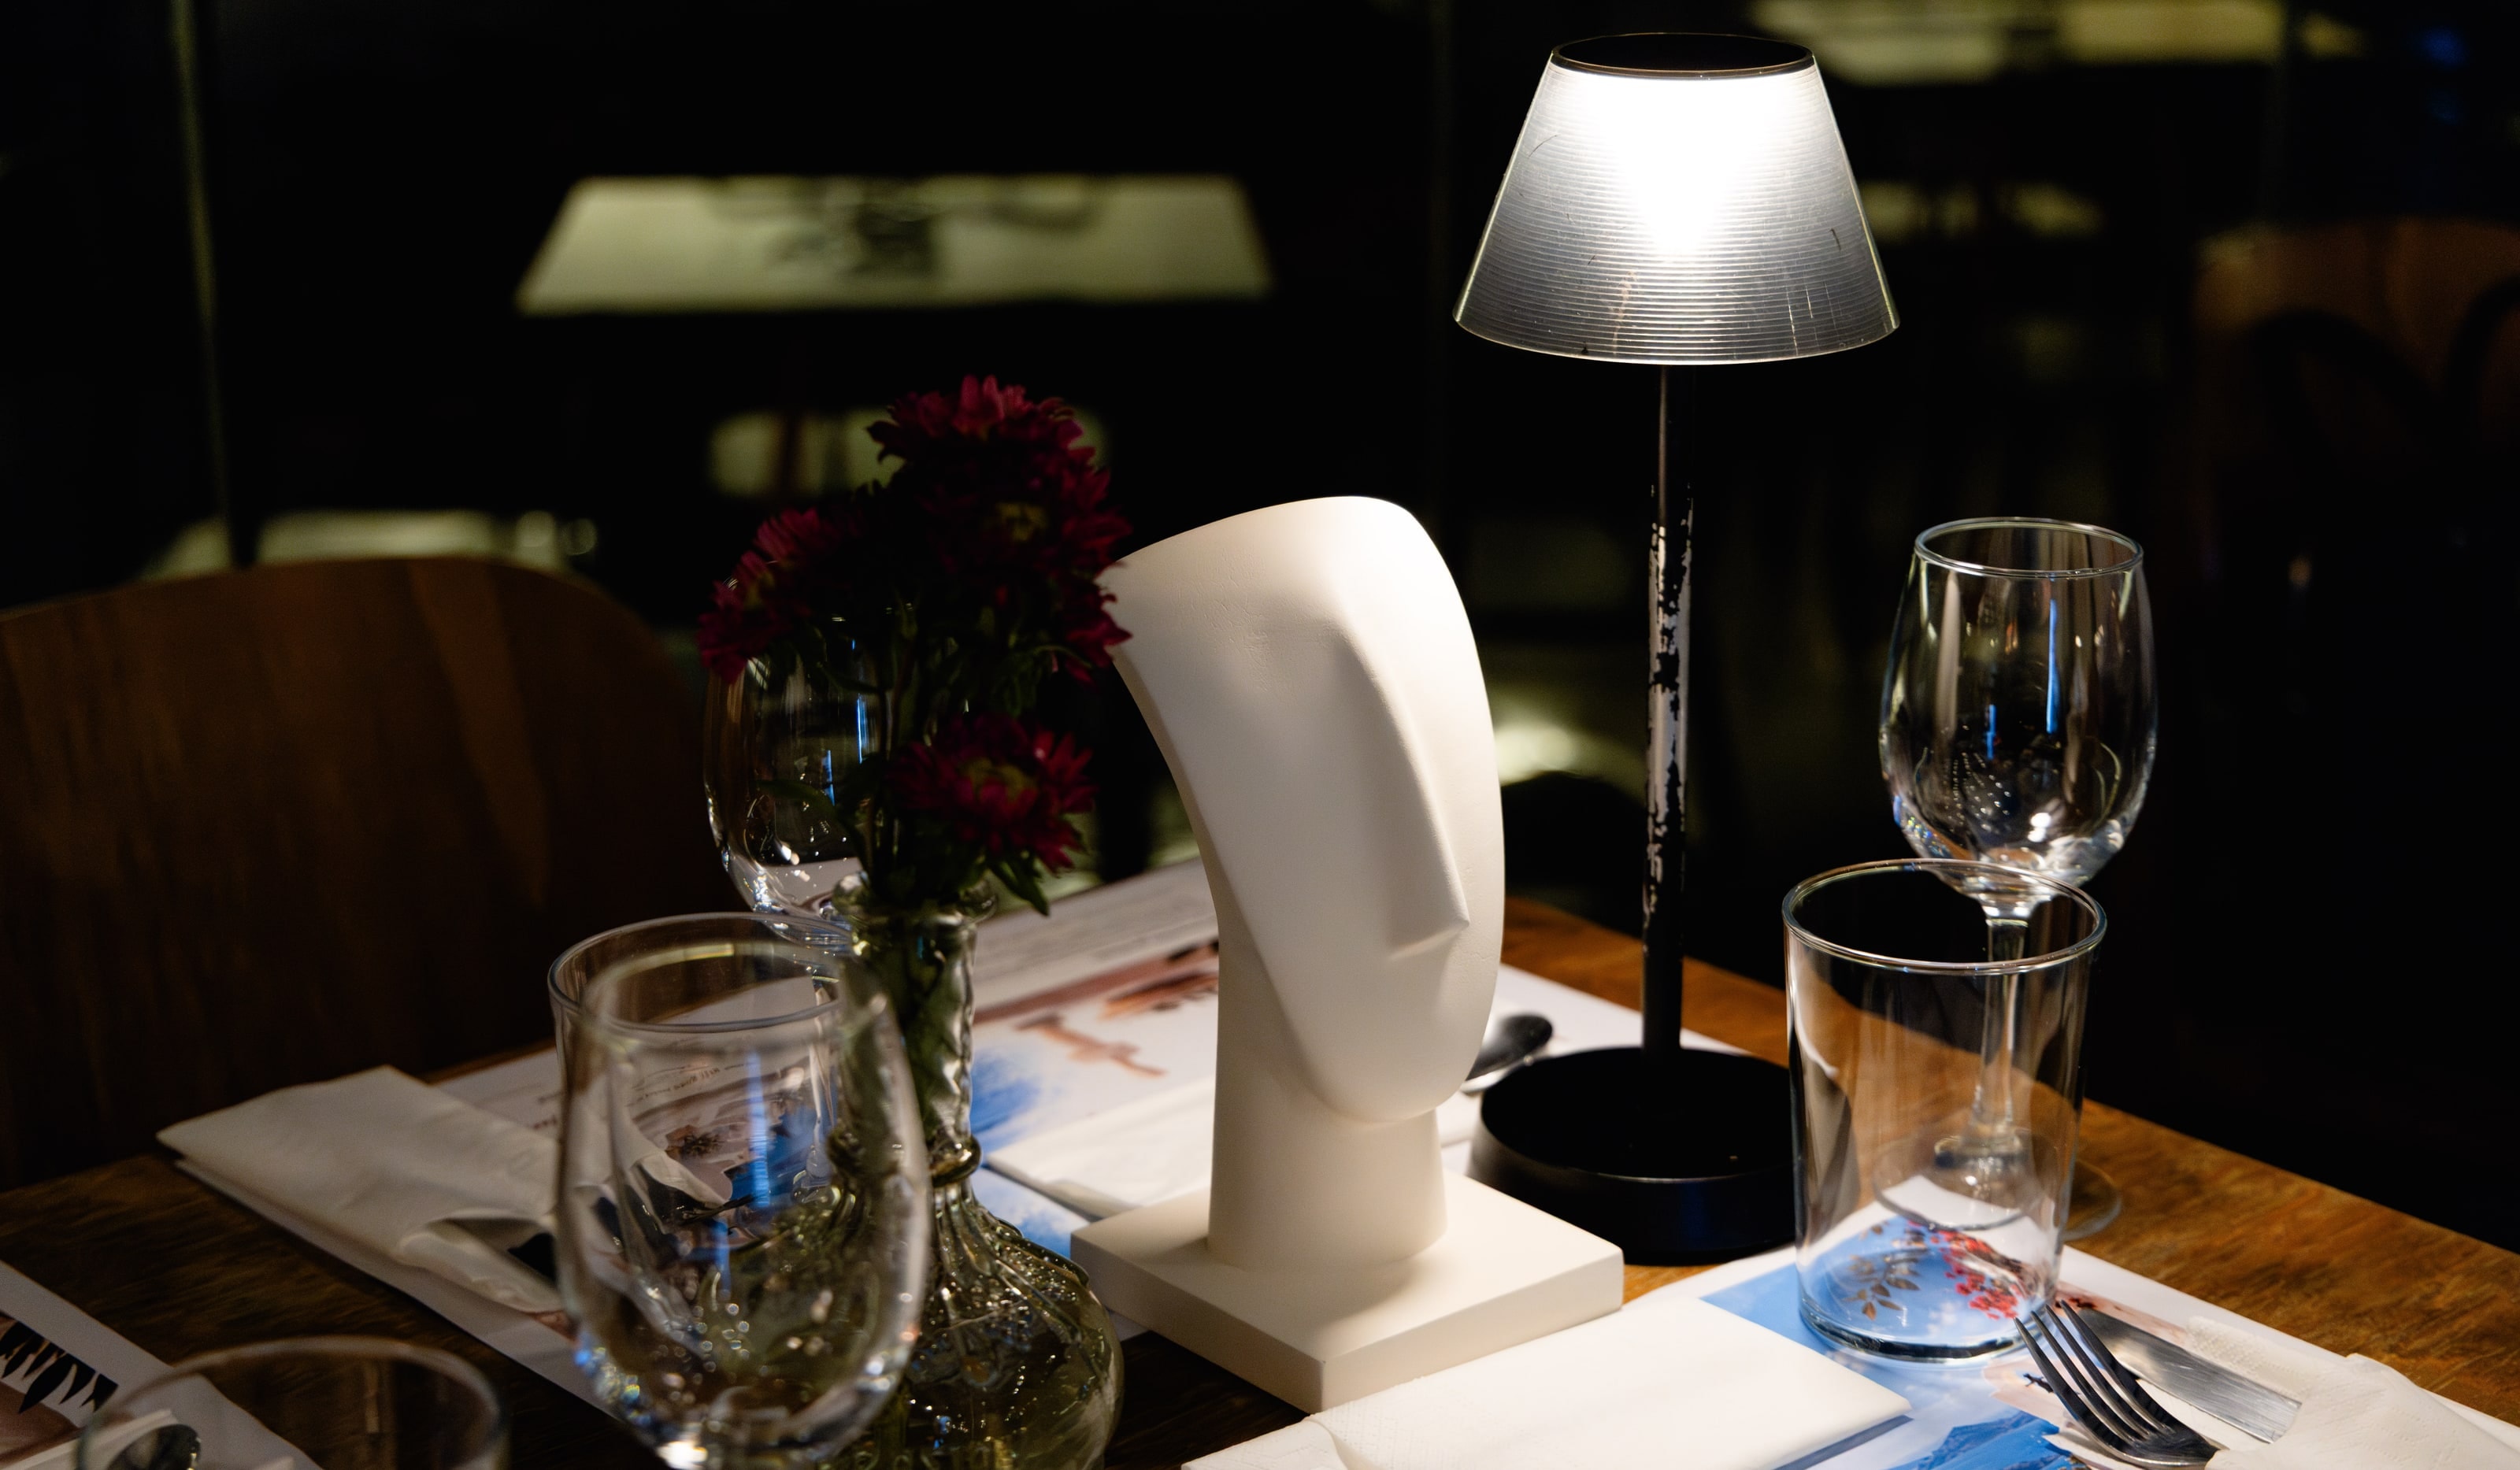
20 Cycladic figures printed as centrepieces for a fundraiser dinner in Athens.
Head model: 'Cycladic head sculpture' (opens in a new tab) by Digitalogy (MakerWorld), CC BY-SA 4.0 (opens in a new tab). Bases added by 3D⁶⁰.
03
3D Design · 3D Printing (FDM)
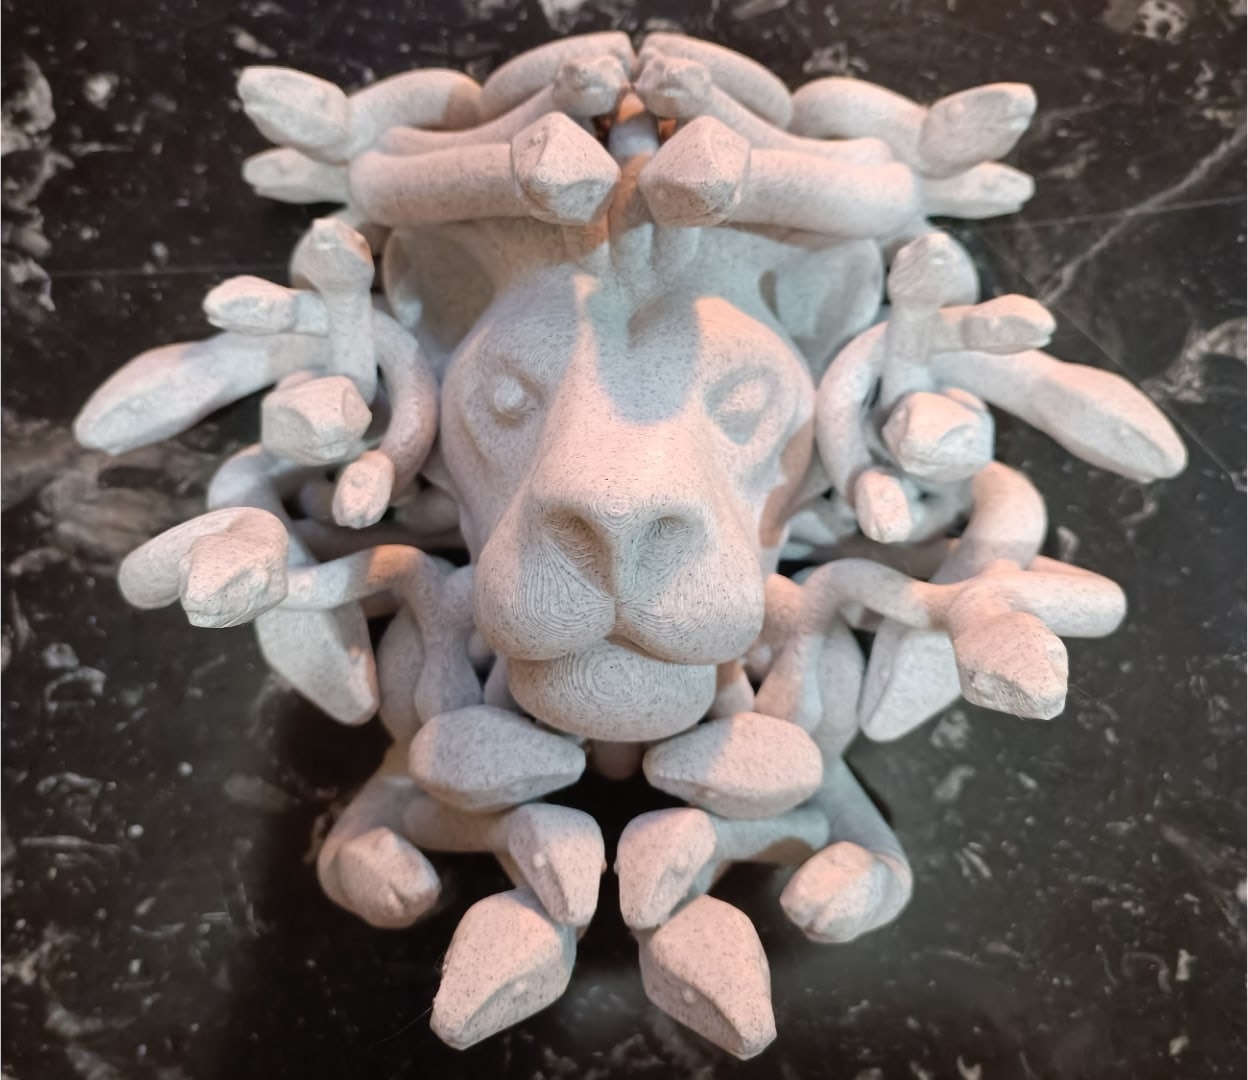
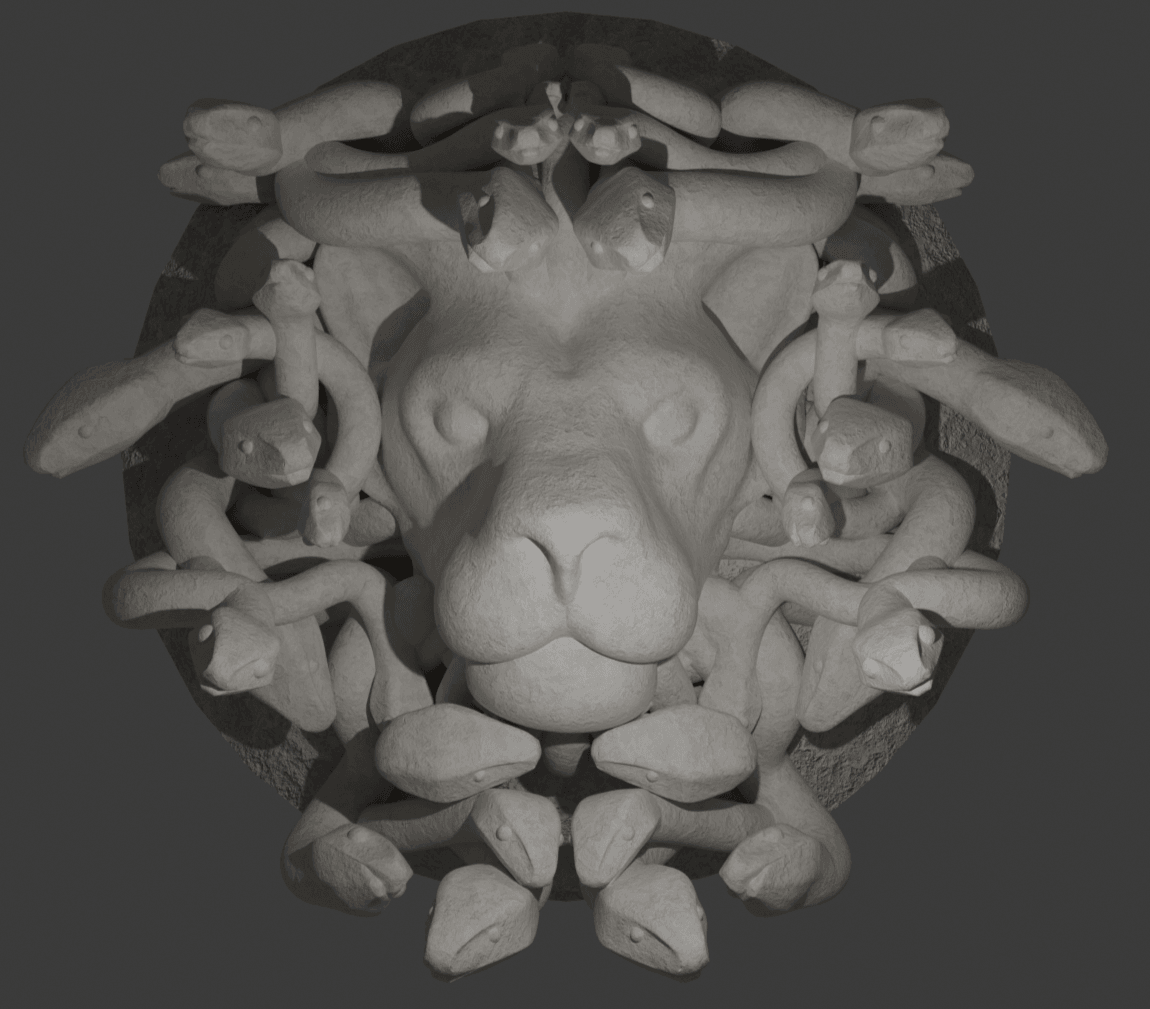
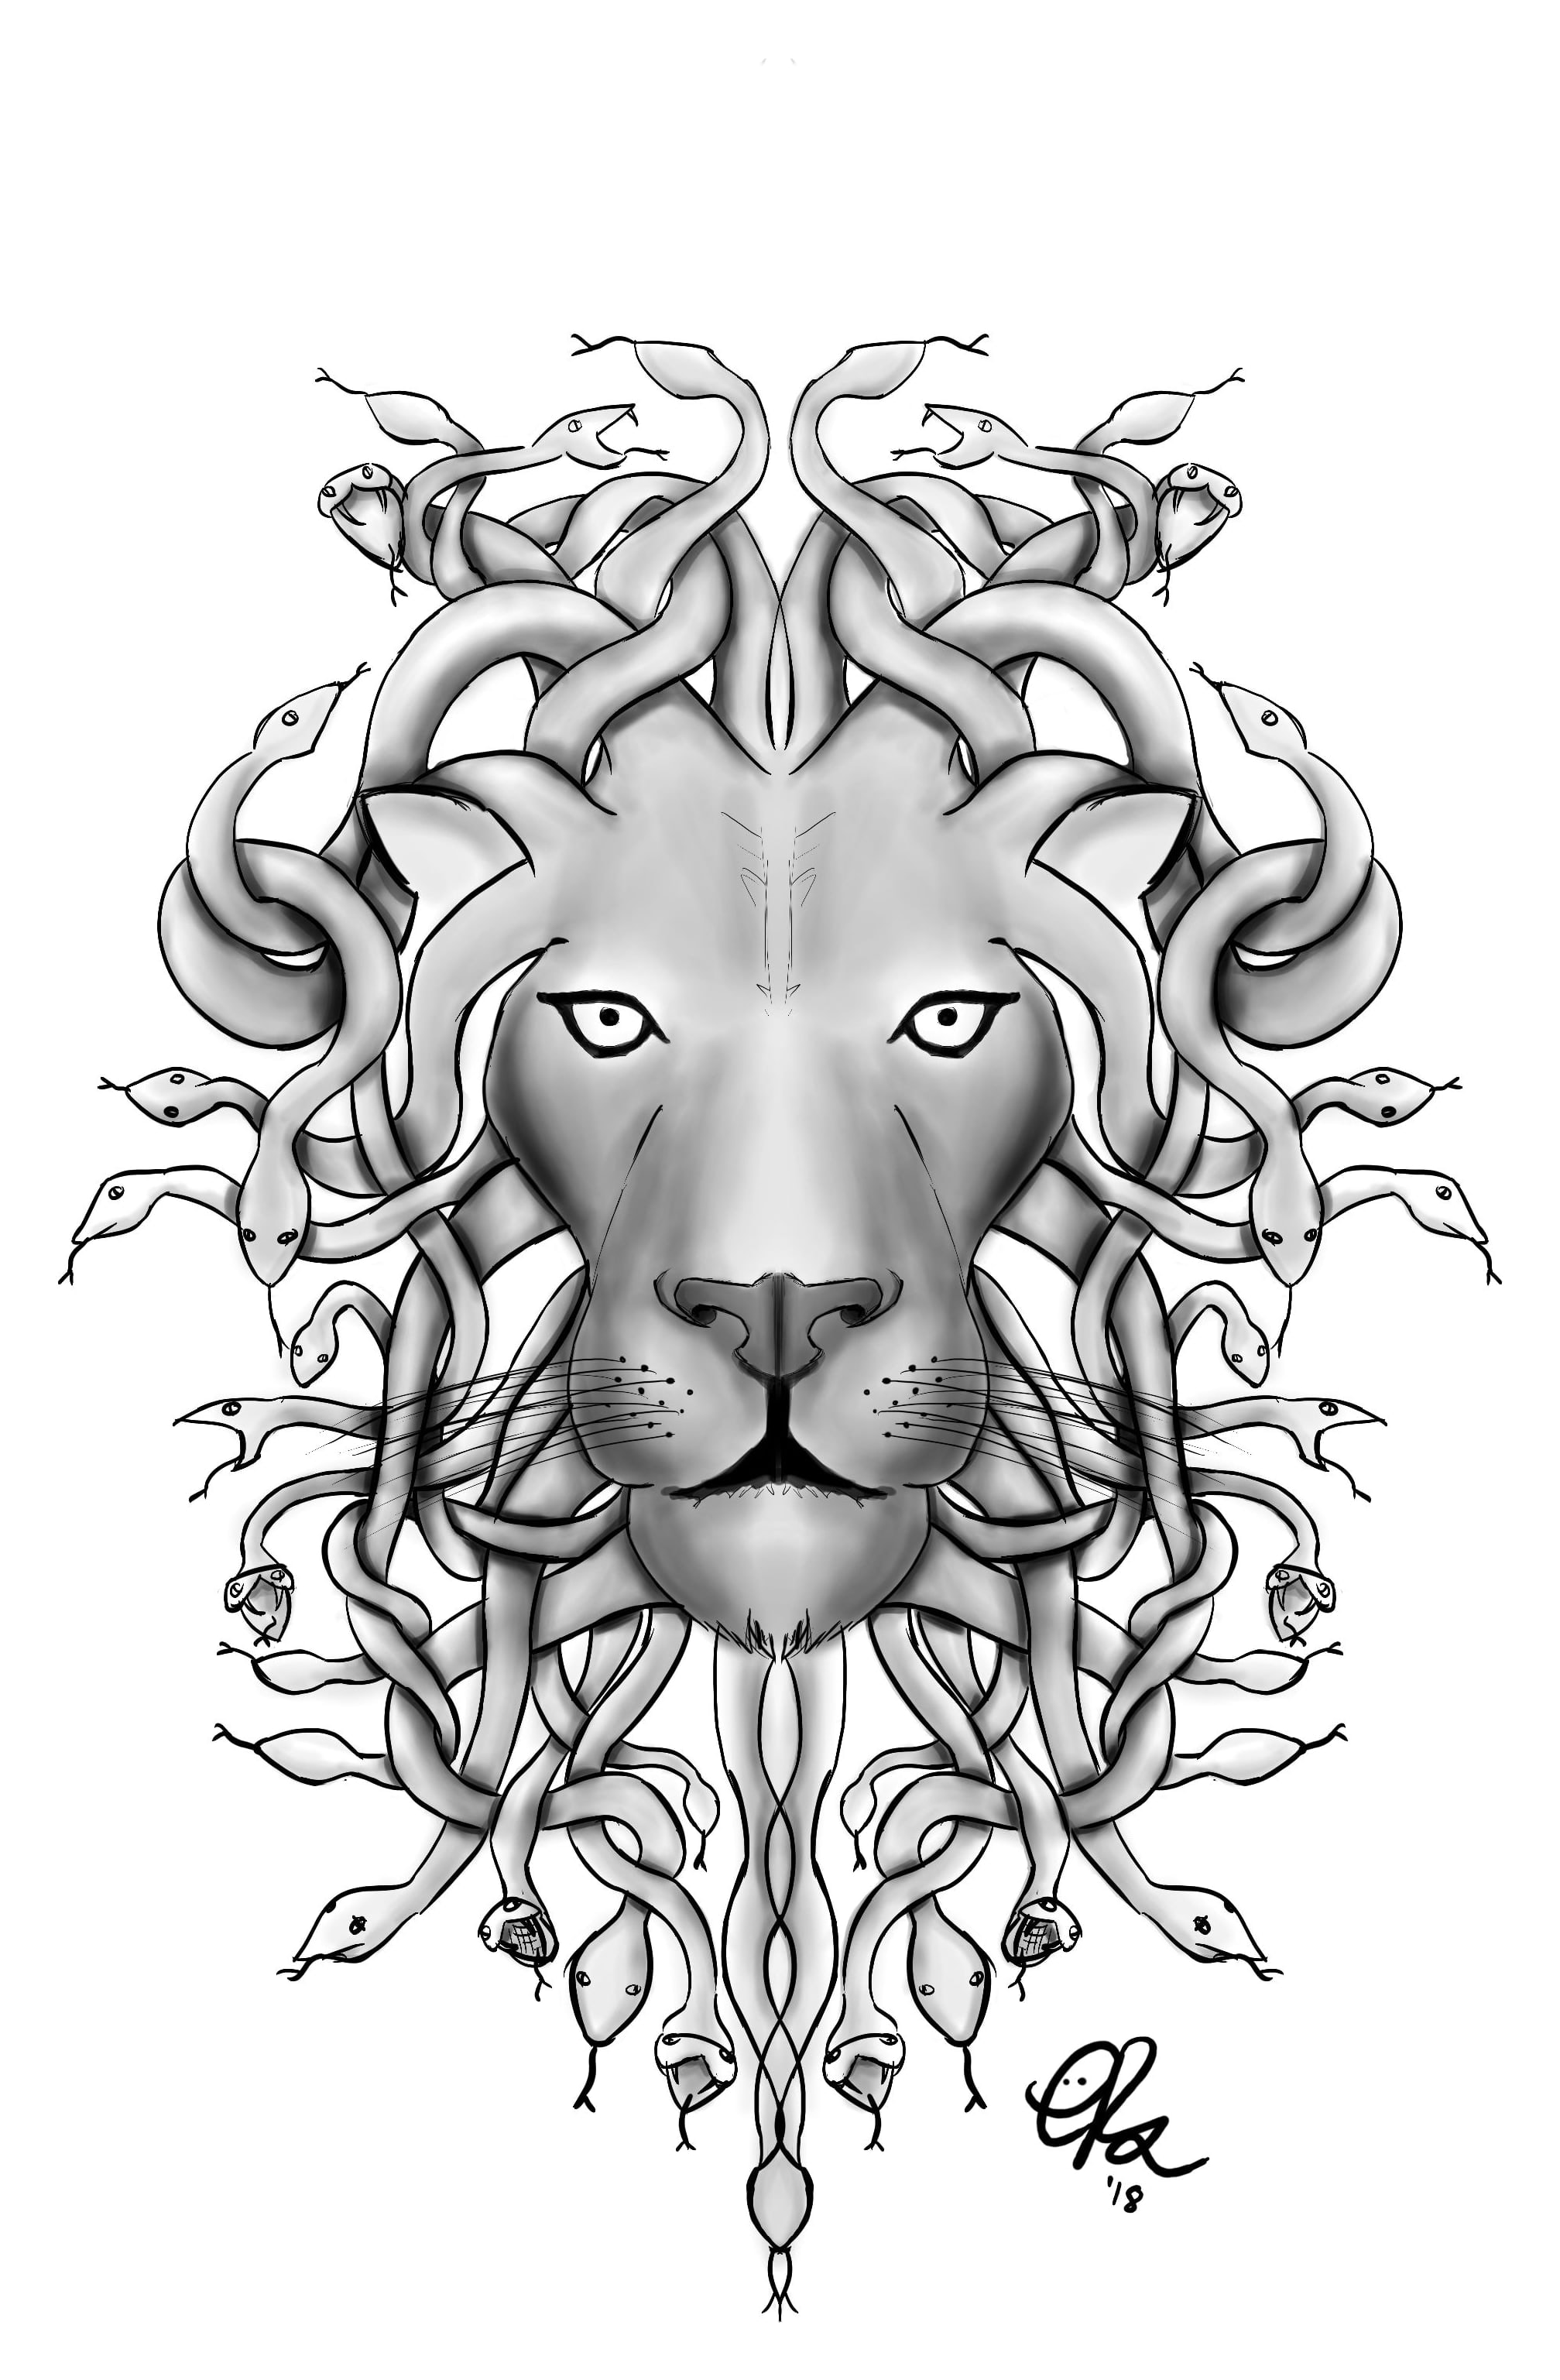
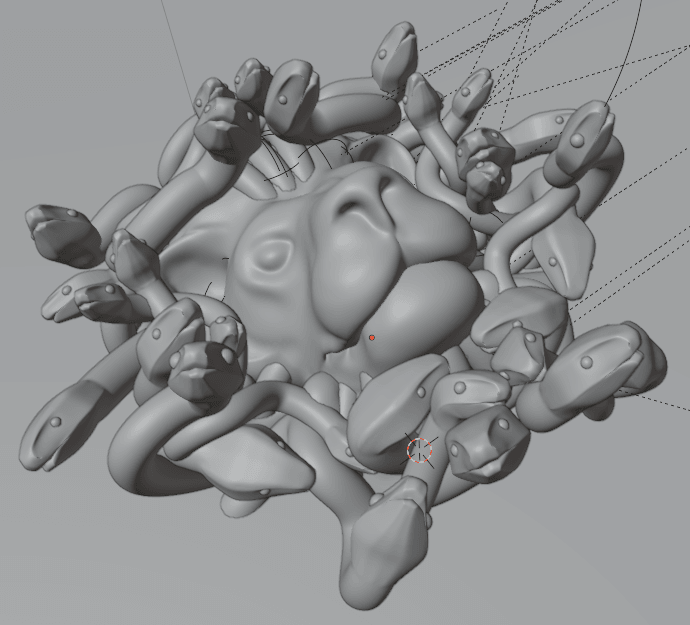
From a hand-drawn sketch to a Blender model to a finished FDM print.
Drag, or use the arrow keys.
Step 1
Concept
The first sketch: a lion whose mane is a tangle of snakes.
Step 2
Model
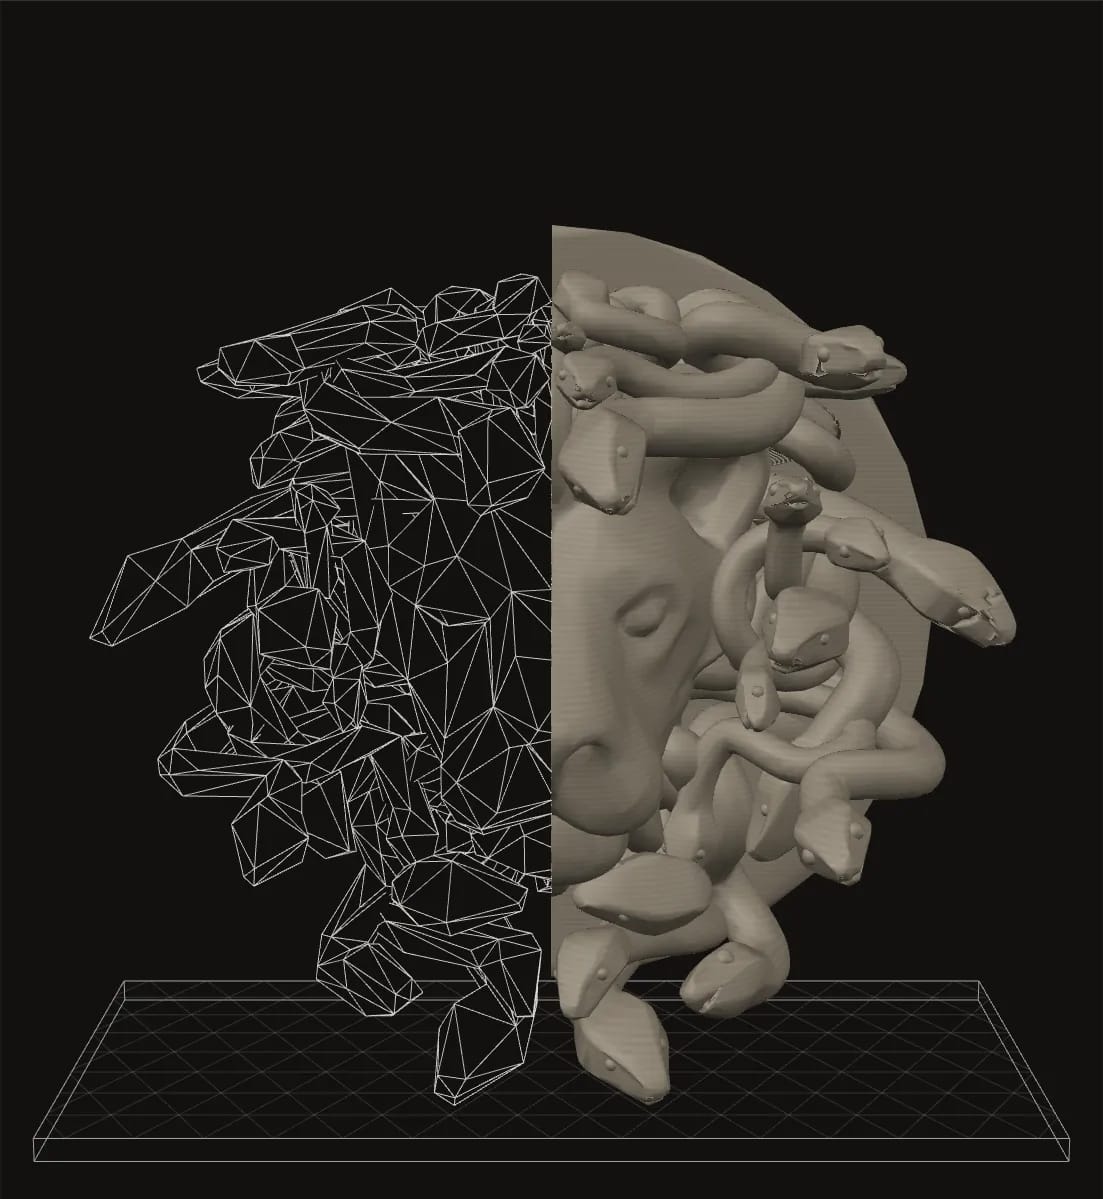
The same design in 3D, modelled in Blender. A work-in-progress view.
Step 3
The finished piece, printed in FDM.
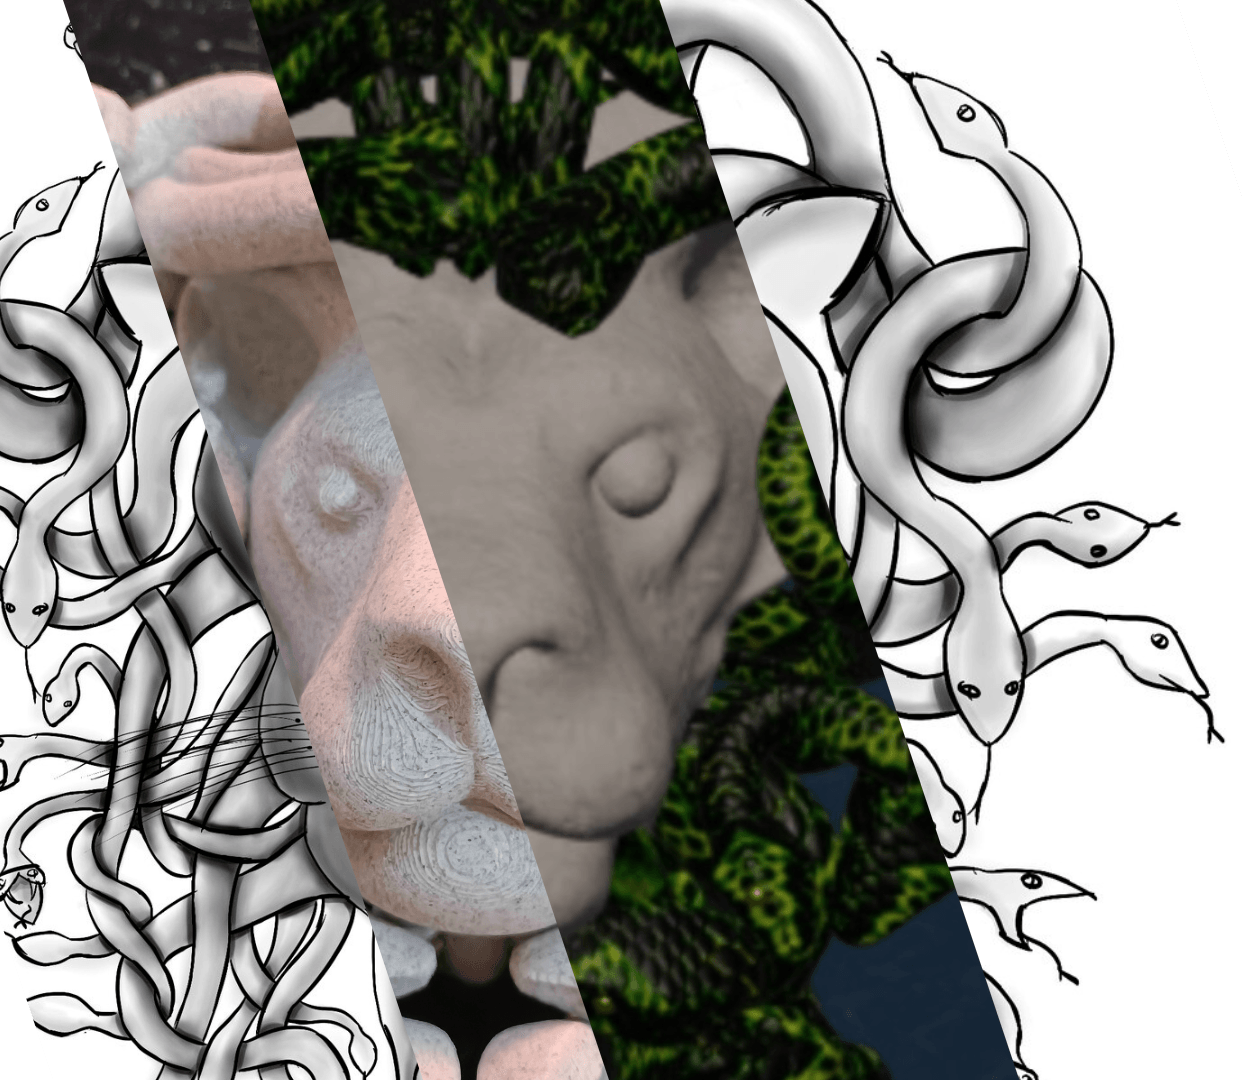
Step 4
Combined
Sketch, model and print of the lion in one frame.
Process
01
We settle the requirements and the vision: what it is for, how big, in what material.
02
Detailed 3D models built to your specification.
03
Test it, refine it, until it does what it should.
04
The final prints, made on the Creality K1 and the Ender 3 V2.